Users tab
The Users tab of the System Administration application displays a table of all users on the server. You can sort and filter this table to find users, as with other tables in Clinical Analytics; see Table functionality for more details. From the Users Tab, you can create new users or modify existing users, including resetting a password, updating permissions, and enabling encryption keys.
Create users
- On the Users tab, click +Add User in the top right corner to add a new user profile to the server.
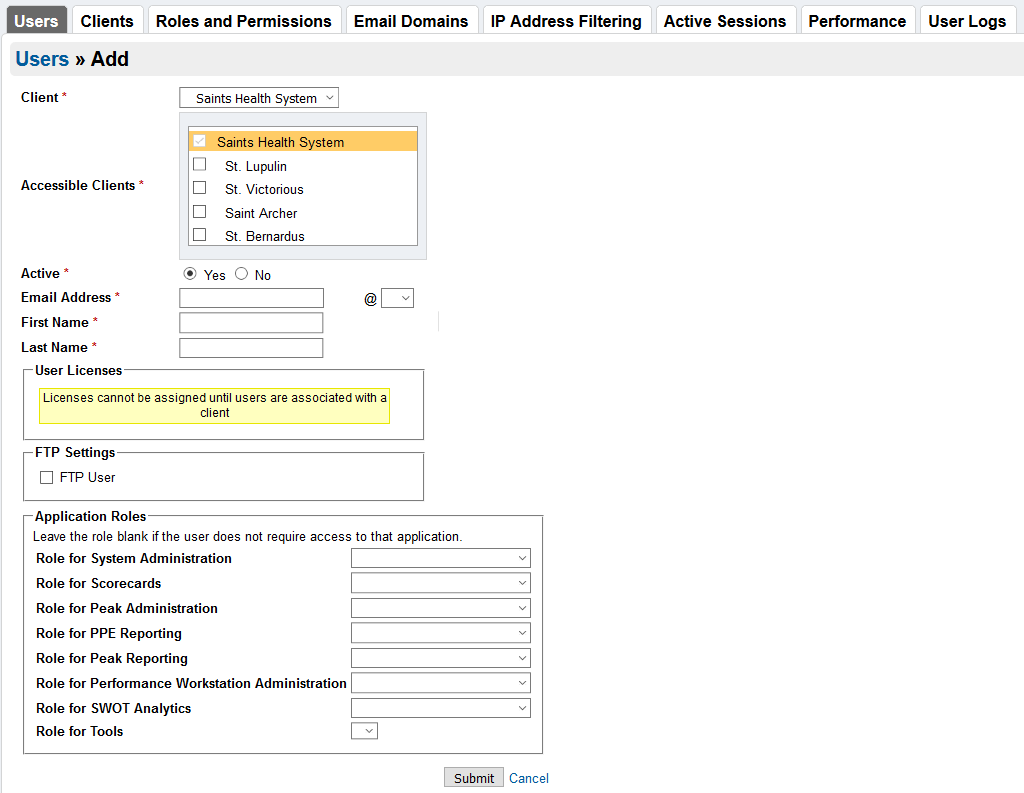
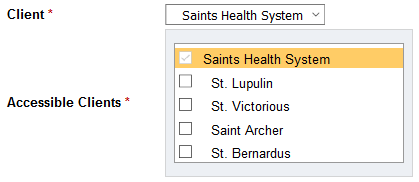
- If you have multiple facilities, check the boxes next to all the facilities you would like the user to have access to; we typically recommend giving access to all facilities unless you have a reason not to.
- Enter the user’s email address, first name, and last name. The user email domain (after the @) must be selected from the dropdown. If you do not see the correct domain available in the list, contact Support.
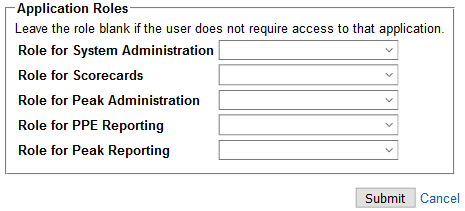
- For Application Roles, click the dropdown for each application and select the user’s role. For more information about the applications and related Roles, see User permissions.
- When you are finished setting the user settings, click Submit. The Users tab reappears; clicking Cancel reverts to the Users tab without saving your changes.
- For the user to sign in, a password is needed. Find the user you just added and hover over the gear icon in the right column to reveal Actions for that user.
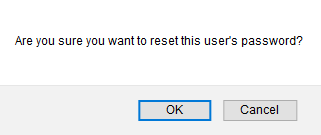
- Click Reset Password and confirm the reset in the popup box.
- Highlight and copy the password shown on the next page, then click Return to Users.
- Because of the password complexity, it is typically easiest to email this password directly to the user so he or she can copy/paste it into Clinical Analytics on the first sign-in. The user should then reset the password immediately. See Change your password for details.

The user information screen appears.
The user defaults to Active; see the following details about deactivating users.


Edit users
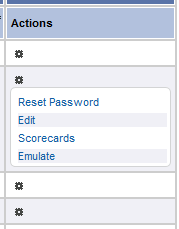
You can edit existing users by hovering over the gear icon in the Actions column. Users without an encryption key only have four options:
- Reset Password resets the user’s password as described in previous steps 8 - 11.
- Edit opens the user’s settings page, like what you saw when creating a new user above. From here, you can modify permissions, change the sign-in email address, or activate/deactivate a user.
- Scorecards opens a table of Scorecard Templates on the server so you can enable the user’s access to certain templates.
- Emulate allows you to view Clinical Analytics as the user sees it; click Sign Out to return to viewing Clinical Analytics as yourself.
Encryption keys
Users with Encryption permissions (Basic or HSC permissions for Scorecards) have two additional options. See Grant unlocking privileges for more information.
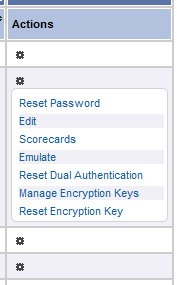
- Manage Encryption Keys allows you to enable a user’s Encryption Key on the server; this only needs to be done once after the user has downloaded his or her private key.
- Reset Encryption Key disables the user’s existing key so he or she can reset the encryption password and download a new private key.
Dual authentication
- Reset Dual Authentication is an additional Action item if Dual Authentication is enabled on your server.
See Dual authentication for more information. Contact Support for more information about adding this additional layer of security to your server.
Deactivate a user
Because Clinical Analytics Software maintains user logs, a user account cannot be deleted off your server once it has been created. If a user leaves your organization, or otherwise no longer needs access, we recommend deactivating the user.
From the Users Tab, find the user of interest and hover over the gear icon in the far right column. Click Edit to view the user details, and then click the No radio button next to the Active prompt.

The user still appears in the user list on the Users tab, but the Active column reads No for inactive users.
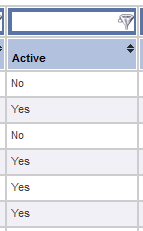
A user can be reactivated at any time by changing the radio button selection back to Yes.
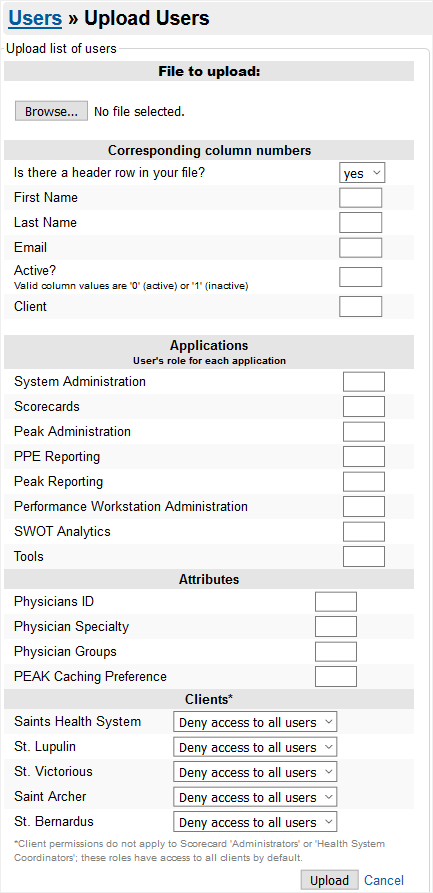
Upload users
The Users tab also allows you to upload user information for multiple users at once.
- On the Users tab, click +Add User in the top right corner to add a new user profile to the server.
- Compile a CSV file with the necessary data fields and complete the Upload Users page identifying the corresponding column numbers.
- Click Upload when you are finished, or click Cancel to exit the Upload page without saving.